

How to Setup Gym Equipment for Maximum Efficiency and Longevity
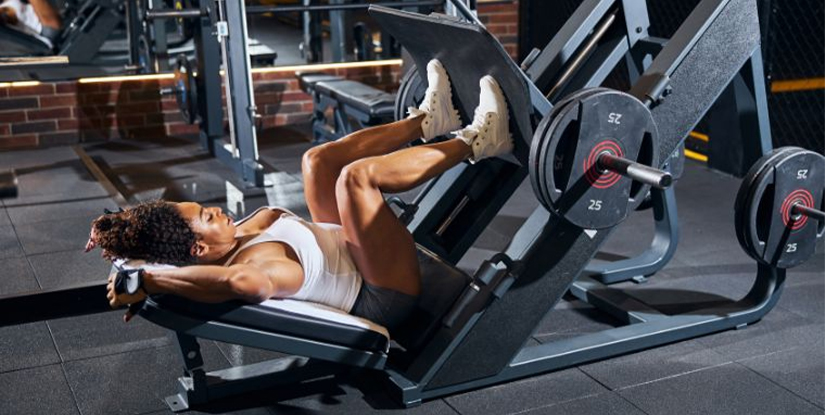
A common frustration for facility managers is observing high-end machines underperform within months of installation. Often, the issue isn't the quality of the hardware itself, but a failure in the initial configuration and environmental integration. When gym equipment is poorly positioned or improperly calibrated during the setup phase, it leads to increased friction, premature part wear, and a significant drop in user experience. To achieve a high ROI on your capital expenditure, you must move beyond mere 'unboxing' and implement a systematic setup protocol that accounts for mechanical tolerances and spatial logistics.
Optimizing Spatial Layout for Operational Flow and Safety
Before a single bolt is tightened, the most critical failure point is often the floor plan itself. A common mistake is prioritizing the quantity of machines over the functional clearance required for safe movement. If machines are too close, users often strike adjacent equipment during high-intensity movements, leading to both injury and damaged upholstery or frames.
A professional setup requires calculating the 'dynamic footprint' of each machine. This isn't just the dimensions of the base, but the total area occupied when a user is in full motion—such as the extension of a leg press or the swing of a battle rope. Failing to account for this leads to constant 'bottlenecks' in the facility where traffic flow is constricted.
Calculating Clearance and Buffer Zones
- Static Footprint: The physical dimensions of the machine's base.
- Dynamic Range: The maximum extension of moving parts (weight stacks, levers, or pedals).
- Human Buffer: An additional 0.5 to 1 meter of clear space around the dynamic range for safe human entry and exit.
By establishing these zones through a rigorous layout audit, you prevent the chaos of cramped training spaces. Once the layout is solidified, the next technical hurdle is ensuring the ground itself can support the load.
Subsurface Integrity and Leveling Requirements
A secondary, yet frequently overlooked, cause of mechanical inefficiency is uneven flooring. If a heavy strength machine is installed on an uneven surface, the weight distribution becomes asymmetrical. This creates lateral stress on the frame, causing bolts to loosen prematurely and bearings to wear unevenly. This is especially prevalent in multi-floor facilities where standard commercial flooring might not offer sufficient density.
To prevent this, operators must verify the subfloor's ability to handle both static weight and dynamic impact. For instance, a dropped barbell creates a localized impact force much higher than its static weight. Verification requires using a precision level on all major structural frames and adjusting leveling feet until the machine is perfectly plumb.
| Surface Type | Primary Risk | Recommended Mitigation |
|---|---|---|
| Standard Concrete | High Impact Vibration | High-density rubber matting (min 20mm) |
| Wood/Sprung Floors | Structural Flex/Instability | Steel-reinforced base plates |
| Multi-level Commercial | Harmonic Resonance | Vibration isolation pads under heavy racks |
A stable base is the prerequisite for mechanical precision, which leads directly to the calibration of the moving parts themselves.
Explore the complete technical specifications:
Precision Calibration of Weight Stacks and Resistance Systems
Even on a perfect floor, a machine will underperform if the resistance mechanism is not correctly tensioned. We frequently see 'jerky' movements or inconsistent resistance, which is almost always a result of improper cable tension or pulley alignment. This isn't just a nuisance; it can cause repetitive strain injuries for the user and snap cables unexpectedly.
The cause of poor resistance is usually excessive slack in the cable or a pulley that is not perfectly aligned with the track. To fix this, the cable must be tensioned so that there is minimal slack at the top of the movement, but it should not be so tight that it exerts pressure on the machine while in the 'rest' position. A properly calibrated system should provide a smooth, constant feel throughout the entire range of motion.
The Tension Verification Protocol
- Visual Alignment: Ensure the cable runs straight through all pulleys without touching the side of the housing.
- Slack Test: Move the weight stack to the highest position and check for a 'soft' pull. There should be a subtle, constant tension.
- Range Consistency: Cycle the machine through its full range five times to ensure the resistance doesn't 'drop' or 'spike' at certain angles.
Once the resistance is smooth, you must shift focus to the structural components that hold these moving parts in place.
Explore the complete technical specifications:
Best Commercial Gym Equipment Manufacturers | Technical Guide
Securing Structural Fasteners and Bolt Torque Standards
A significant cause of long-term equipment degradation is 'loosening through vibration.' Constant use causes minor oscillations in the frame, which, over time, can back out even the most well-placed bolts. If an operator simply 'tightens' bolts by hand, they are likely failing to reach the necessary torque to withstand daily usage.
To ensure maximum efficiency, every major structural bolt should be checked against a specific torque specification. Using a torque wrench is not optional for commercial-grade installations; it is a necessity. A loose bolt in a power rack doesn't just cause a rattle—it compromises the structural integrity of the entire unit. Operators should create a 'Torque Log' during the initial setup to document that every critical fastener was tightened to the manufacturer's recommended specification.
Failure to implement a documented tightening process often results in the 'maintenance loop'—where technicians are constantly chasing loose bolts rather than performing preventative maintenance. This leads to a more methodical approach to the next step: lubrication.
Lubrication and Friction Management Strategies
Proper lubrication is the hallmark of a well-maintained facility, yet it is often the first area where efficiency drops. The common mistake is either over-lubricating (which attracts dust and creates a grinding paste) or under-lubricating (which causes heat and friction). The result of a failure here is a machine that sounds 'noisy' or feels 'stiff' to the user.
The mechanism of efficiency here relies on choosing the correct lubricant for the specific part. A bearing requires a high-viscosity grease, whereas a cable system might require a dry silicon spray to prevent buildup. Using the wrong substance can actually accelerate wear by introducing contaminants into the precision components.
| Component | Common Failure | Correct Action/Product |
|---|---|---|
| Guide Rods | Scoring/Scratching | Silicone-based dry lubricant |
| Bearings/Bushings | Binding/Stiffness | Lithium-based grease |
| Cables/Pulleys | Fraying/Noise | Dry PTFE spray (Non-residue) |
Implementing a scheduled lubrication routine based on usage cycles, rather than a calendar, ensures that the friction levels remain within the optimal range for smooth operation.
Electrical and Digital Interface Integration
As modern gym equipment becomes increasingly digital, the setup process has expanded to include software and connectivity. A recurring problem for operators is 'digital lag' or hardware failure in smart consoles. This is often caused by improper electrical grounding or the use of non-standard power strips that cannot handle the transient loads of motorized equipment.
When setting up cardio equipment with integrated screens, ensure that the power source is a dedicated circuit if possible. Interference from other heavy machinery can cause screen flickering or connectivity drops. Furthermore, a professional setup includes a firmware update check immediately upon power-up. An out-of-date system is a poorly optimized system that may present UI bugs or slower response times to the user.
With the digital components secured, the final phase of a professional setup is the rigorous inspection of the user interface and safety-critical shutdown systems.
Final Verification: The Comprehensive Pre-Opening Checklist
The last step in how to setup gym equipment for maximum efficiency is a multi-point inspection. You cannot assume the machine is ready just because it is turned on. A true professional verification involves testing the machine under a simulated load that mimics actual user behavior.
A common pitfall is the 'Empty Machine Fallacy'—assuming that because a machine works perfectly without weight, it is ready for service. You must verify the machine under load to ensure that weight-stack impacts, cable tension, and frame stability remain consistent when the resistance is at its peak. Use the following checklist to finalize your installation:
The Operator's Final Verification List
- Load Test: Cycle the machine with 75% of its maximum weight capacity.
- Acoustic Audit: Listen for any grinding, clicking, or high-pitched squeaks during the movement.
- Safety Trigger Check: For motorized treadmills or bikes, ensure the emergency stop mechanism is responsive and functional.
- Visual Inspection: Check all upholstery for any gaps or pressure points caused by improper frame alignment.
Completing these steps transforms a mere installation into a professional-grade commissioning process. A well-documented setup not only extends the life of the equipment but also guarantees a seamless, high-performance environment for the end-user.