Proper bench press form isn’t magic – it’s mechanics. After spotting thousands of lifts and grinding my own bench PRs, I can tell you this: lifting heavy starts with moving right. It boils down to three non-negotiables: a rock-solid setup, a controlled descent, and a violent, purposeful push-off. Forget ego-lifting with a wobbly back or flared elbows. The key elements? A slight, natural arch in your lower back , a grip just wider than shoulder-width, and keeping those elbows tucked around 45 degrees – not pinned to your ribs, not flared like chicken wings. Master this trifecta, and you don’t just lift more weight – you own it. Safely. Let’s break it down like I do with clients on the gym floor.
1. Proper Bench Press Form Steps
This isn’t just textbook stuff; this is how I coach it on the gym floor, step-by-step:
(1) Setup
- Lie back on the bench. Seems simple, right? But get your eyes directly under the bar. This small detail saves awkward unracking.
- Grip the bar. Here’s where personalization starts, but for most lifters aiming for power and shoulder health, I recommend starting with a grip slightly wider than shoulder-width (overhand, thumbs wrapped!). My rule of thumb? Place your pinkies just outside the smooth rings if your bar has them. Feels strong and stable.
- Plant your feet firmly. Drive them hard into the floor throughout the entire lift. Imagine you’re trying to push the floor away with your heels. This leg drive? Non-negotiable for max power. I see too many folks with feet dancing or flat – it kills stability.
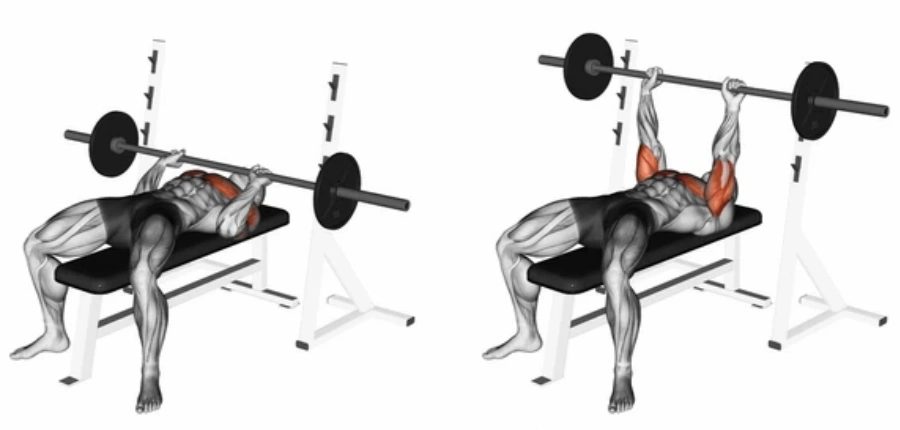
- Engage your core & create your arch. This is the magic. Pull your shoulder blades down and back like you’re trying to tuck them into your back pockets. Now, push your chest up towards the ceiling. This naturally creates a slight, comfortable arch in your lower back – we’re not talking gymnast-level here! Keep your butt firmly on the bench. This tightness creates a stable platform. I can’t stress this enough: without this tight setup, the lift starts compromised.
(2) Descent
- Unrack the bar (use a spotter or lift-off if needed!), fully lock out your arms over your chest/shoulders.
- Lower the bar slowly and with intent. Don’t just let gravity win. Control it.
- Let your elbows bend outwards at roughly a 45-degree angle from your body. Think of making an arrow shape with your arms and torso, not flaring them out wide like chicken wings (hello, rotator cuff strain!) or pinning them tight to your ribs.
- Aim the bar. Lower it straight down until it gently touches your chest. For most lifters, this is around the nipple line or just below. Where does it feel strongest for you? Pay attention. Stop when your elbows dip just below the bench level. I learned the hard way early on: bouncing the bar is cheating and a fast track to bruised ribs or worse.
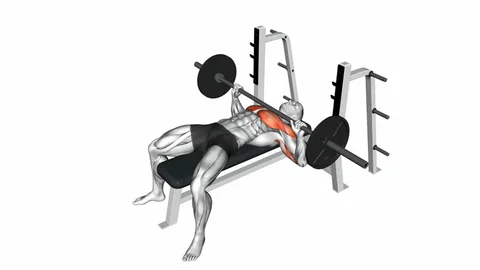
(3) Press
- Explode upwards! But keep it controlled. This is where that leg drive comes in – push HARD through your feet as if you’re doing a leg press.
- Drive the bar straight up over your shoulders/chest. Focus intensely on squeezing your chest muscles together. Imagine cracking a nut between your pecs!
- Maintain core tightness – don’t lose that arch or shoulder position!
- Elbow path: As you press, your elbows will naturally come in slightly from that 45-degree start. Keep them relatively tracked under the bar. Some slight flare at the top is okay for lockout, but avoid extreme flaring if you have shoulder sensitivity. Listen to your body here. I tweaked a shoulder years ago by being stubborn about flare – lesson learned.
(4) Return to Starting Position
- Once you’ve locked out powerfully over your chest, slowly and controlled, lower the bar back to the rack. Don’t just drop it or lose tension. Control it all the way down. This control builds strength through the entire range and keeps you and the equipment safe.
2. Tips for Proper Bench Press Form
- Maintain that slight arch: It protects your spine and creates power. If yours collapses, reset!
- Elbows: Tucked is generally safer. Keep them around 45 degrees, not flared wide. See what feels strongest without pain.
- Engage your chest: This is a chest exercise! Focus on squeezing those pecs. If your shoulders or triceps take over, check your grip width or bar path.
- No bouncing ! Touch your chest, don’t rebound. Control wins every time. Watched a guy crack a sternum once from a bad bounce – terrifying.
- Use a Spotter, especially near max! It’s not weakness; it’s smart training. Period. My training partner saved me more than once grinding out a final rep.
- Listen to your body: Sharp pain? Stop. Adjust. Don’t push through joint pain for the sake of ego.
| Tip | Research Findings | Practical Implication |
|---|---|---|
| Maintain Slight Back Arch | Reduces horizontal bar distance by 20-25% . Lowers shoulder strain by shifting load to stronger pectoralis major sternal fibers. | Lift more weight with less ROM. Protects rotator cuffs. *"My clients add 5-10% instantly when they arch correctly."* |
| Elbows ~45° Tucked | 90° flaring increases anterior deltoid stress by 300% vs. 45° . 45° optimizes pec major force vector while minimizing shoulder translation . | Prevents "shoulder blowouts." Balances chest/shoulder load. "I fixed my chronic shoulder pain at 315 lbs by correcting this." |
| Engage Chest Muscles | EMG shows 23% higher pectoralis major activation when consciously contracting vs. passive pressing. Mental focus improves motor unit recruitment . | Stop "shoulder-dominant" pressing. Maximize hypertrophy. "Cue 'bend the bar' to fire pecs – instant tension boost." |
| No Chest Bouncing | Rebounds transfer 16% more force to sternum vs. controlled touch. Eliminates the stretch reflex, forcing muscles to generate full concentric force. | Prevents rib fractures. Builds raw strength. "That 'pop' you hear? That’s cartilage crying." |
| Use a Spotter | 68% of catastrophic bench injuries occur during failed reps without spotters. Spotters reduce perceived exertion, enabling 2.4% more reps . | Lifesaving for 1RMs. Psychological edge for PRs. "My spotter saved me from 365 lbs crushing my throat last summer." |
| Listen to Your Body | Training through joint pain increases injury risk by 5.7x . Pain ≠ muscle fatigue – it’s tissue warning . | Avoid months-long setbacks. Differentiate soreness vs. strain. "Pushing through wrist pain cost me 8 weeks of gains." |
3. Where Most Bench Presses Go Wrong
- Feet Floating or Not Driving: Kills leg drive and stability. PLANT THOSE FEET!
- Loose Upper Back/Shoulders: No retraction = no power base and shoulder risk. Get TIGHT!
- Elbow Flaring Excessively: Hello, shoulder impingement! Keep them controlled.
- Bouncing the Bar: Cheating, dangerous, ineffective for strength building.
- Partial Reps (Not Touching Chest): Unless rehabbing an injury, you’re cheating yourself of full muscle engagement and strength gains.
- Lifting the Butt: Your butt stays glued to the bench! Lifting it turns it into a dangerous decline press and risks your lower back.
- Poor Bar Path: Bar should move straight down and straight up. If it’s zig-zagging, your form is off.
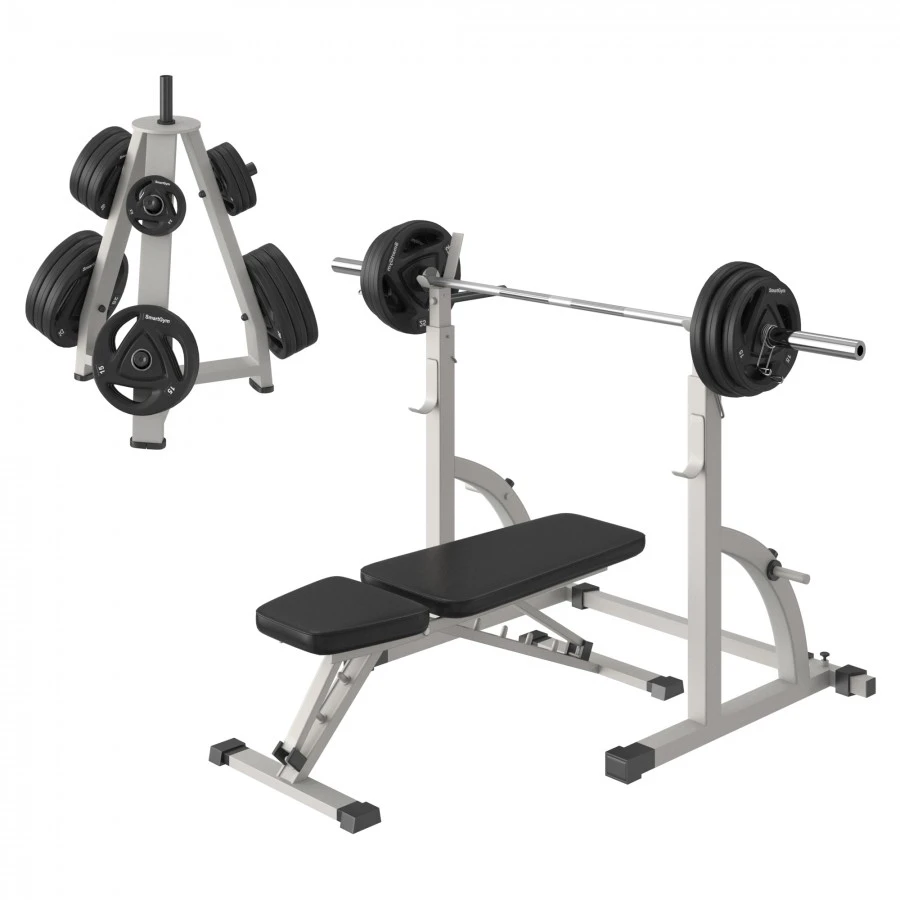
Leadman Fitness Bench Press Equipment
- The Weight Bench: Flat, stable, non-slip padding. That’s it. Avoid wobbly benches!
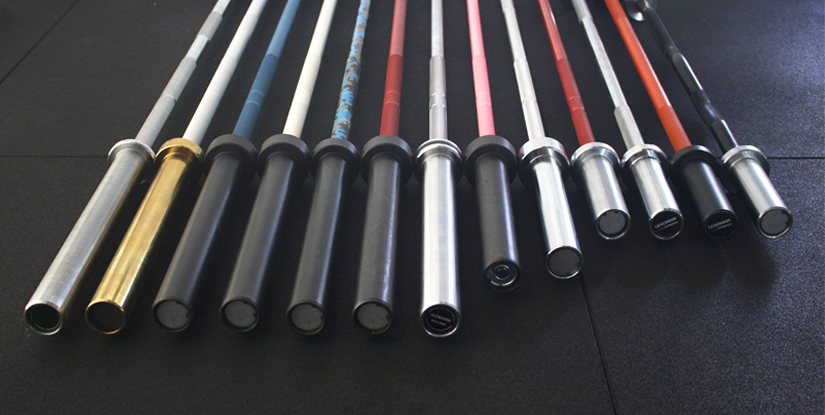
- The Barbell: Standard Olympic bar (20kg/45lb) is ideal. Knurling helps grip.
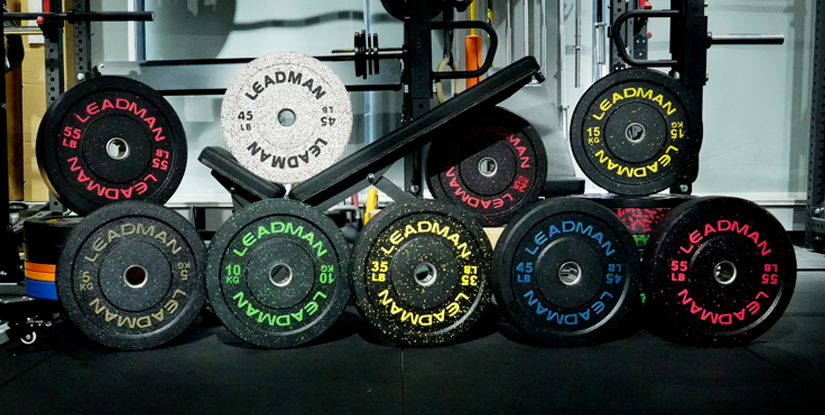
- Plates: Use calibrated plates if possible for precise loading, but standard bumper or iron plates work.
4. How To Find The Perfect Bench Press Grip For You
Finding your grip is crucial. Too wide limits range of motion and stresses shoulders more. Too narrow turns it into a triceps-dominant lift. Here’s my practical approach:
- Start with the Standard: Slightly wider than shoulder-width (pinkies on or just outside the smooth rings). This is the sweet spot for most people balancing power, chest engagement, and shoulder safety.
- Test and Feel: Do a few light sets. Where do you feel it most?
- More chest? You might be in a good spot or could try slightly wider (index finger on rings). Wider feels stronger off my chest.
- More shoulders/triceps? Try bringing your grip in slightly (middle/ring finger on rings). Narrower might feel stronger at lockout.
- Prioritize Shoulder Comfort: If you feel any pinching or anterior shoulder strain, your grip is likely too wide. Bring it in incrementally until the discomfort eases. My right shoulder tells me very quickly if I’ve gone too wide.
- Consider Your Build: Longer arms might prefer a slightly wider grip; shorter arms might feel stronger slightly narrower.
- Mark It: Once you find a strong, comfortable grip, note where your pinky/index finger sits relative to the knurling or rings. Consistency is key!
Chasing bigger bench numbers? I get it. We all do. But remember this: you lift more weight by mastering the movement, not by muscling through it with bad form. That slight arch, the tight back, the controlled descent, the powerful leg drive, the focused chest squeeze – these aren’t minor details; they’re the pillars of true strength and safety. Build your bench press like you build muscle: with patience, precision, and respect for the movement. Dial in your form, find your perfect grip, lift smart, and those heavier weights will come. Now get out there, set up tight, and press with purpose! You got this.
Welcome! I’m Jordan Mitchell, the dedicated editor at Leadman Fitness, where we specialize in manufacturing high-quality bumper plates, barbells, weight machines, kettlebells, and dumbbells. With a passion for fitness and a keen eye for detail, I ensure that our product information is clear, accurate, and engaging for our customers. My role involves collaborating closely with our design and production teams to highlight the innovative features and superior craftsmanship that set Leadman Fitness apart in the industry. Whether you’re a professional athlete or a fitness enthusiast, I’m here to provide you with the information you need to achieve your training goals with our top-of-the-line equipment.